8.19.2014

Quote Art

FYI, these are pictures mixed and matched showing different steps of different projects. I'm not very good at doing step by step pictures of one whole project.... 

1. Canvas - Pick out your size of canvas. I have gotten 12x12s and 16x20 two packs at hobby lobby- the cheapest brand because I wasn't using regular paints or making a painting.
(I also picked up paint markers/pens for doing the letters while I was here)

2. Paint - I picked up a sample 2 oz at Lowes of the color of my choice. (BM-Palladian Blue) This was more then enough to cover 4 canvases. Or just use some leftover paints depending on who you are doing it for or which room it is going in.

3. Verse, Quote, etc. - originally for our room I was going to do a hymn but I couldn't decide- It was a toss-up of either the first verse of Be Thou My Vision or Lamentations 3- seemed appropriate for over the bed as a reminder as you go to bed or get up in the morning. For other projects, just cute little quotes I spotted while wandering on pinterest. 

4. Fonts - This may not be difficult for the average person but it was for me. I love cursive but I wanted something legible for anybody reading it. I printed off only one paper (two words) at a time until I got the size right. Microsoft Word was mad at me. :)

5. Wiggle room - I laid out the papers when I got to the right size and on my 16x20s I realized that the way I had them lined up was leaving some empty spots. So then it was back to Pinterest to find a way to fill them in. 

     Lace (clearance at the fabric store!) and Paint. I used double stick tape to hold the lace onto the back of the canvas. I was just going to sponge a lighter layer of blue onto the lace but the lace and sponge kept sticking to each other and the lace didn't stay in place. Spray paint to the rescue! I had white gloss laying around so I sprayed a light dusting of that onto the lace and then immediately pulled the lace off the canvas so it wouldn't stick.


6. Prep - Now your canvas is dry and you have your verse, quote, hymn picked out in your font of choice. 
I used rubber bands to line up where my words would go. For example my 12x12 was split for 3 lines, so my 1st line 3 inches down and then my 2nd line was 4 inches down from that line and then the 3 line was down 4 inches from that- leaving an inch of space at the bottom for the "tails" on the the y and g. Measure and adjust accordingly for what you need. 

7. Tools of the trade - Carbon paper (pick up at any office store), regular pen and your printed off quote. I used the rubber band to help keep my layers of paper and carbon paper lined up in the right spot. Trace the letters and it "magically" transfers onto the canvas. 


8. Magic - Remove the papers and rubber bands. Look! It's magic!!! I mean carbon paper. Use your paint marker/pen to fill in the traced words. 


9. Waiting- Let it dry. Usually I set it out of reach of little ones and let it dry for several hours or overnight.


10. Hang it up and show it off!


6.24.2014

No-bake cheesecake

I was craving cheesecake as any normal pregnant person should. And I had all the ingredients. in my house. at the same time. So I just needed an excuse and my excuse was our anniversary. 
His

2 packages of cream cheese (8oz each) - room temperature
1-2 tsp of vanilla extract
3/4 cup of sugar
1 (8 oz) cartoon of Cool Whip, Whipped Topping, etc.
Graham cracker crust 

Hers
With a kitchen aid mixer or hand mixer, whip together the first three ingredients. Scrape frequently to get it mixed well. 

Add about a third of the Cool Whip to the cream cheese mixture. Gently whip it until well mixed. 

Scoop half of that mixture into the graham cracker crust. Gently spread it evenly across the bottom of the crust. 

Add another third of the Cool Whip to the other half of the cream cheese/cool whip mixture. Gently whip this also, and then spread gently and evenly on the first layer. 

Top with remaining Cool Whip, spreading evenly across the 2 layer. I used the back of a spoon to make little swirls in the topping.  
Refrigerate. 

Our toppings- added right before serving- were strawberries for me and chocolate peanut butter sauce for him. 

Chocolate peanut butter sauce was just chocolate chips, peanut butter, butter and sugar melted together and mixed together. 

~You don't have to do this many steps or layer it this way, but I wanted to try it and well, my son was napping too~
Eat it up and Enjoy!!!

6.19.2014

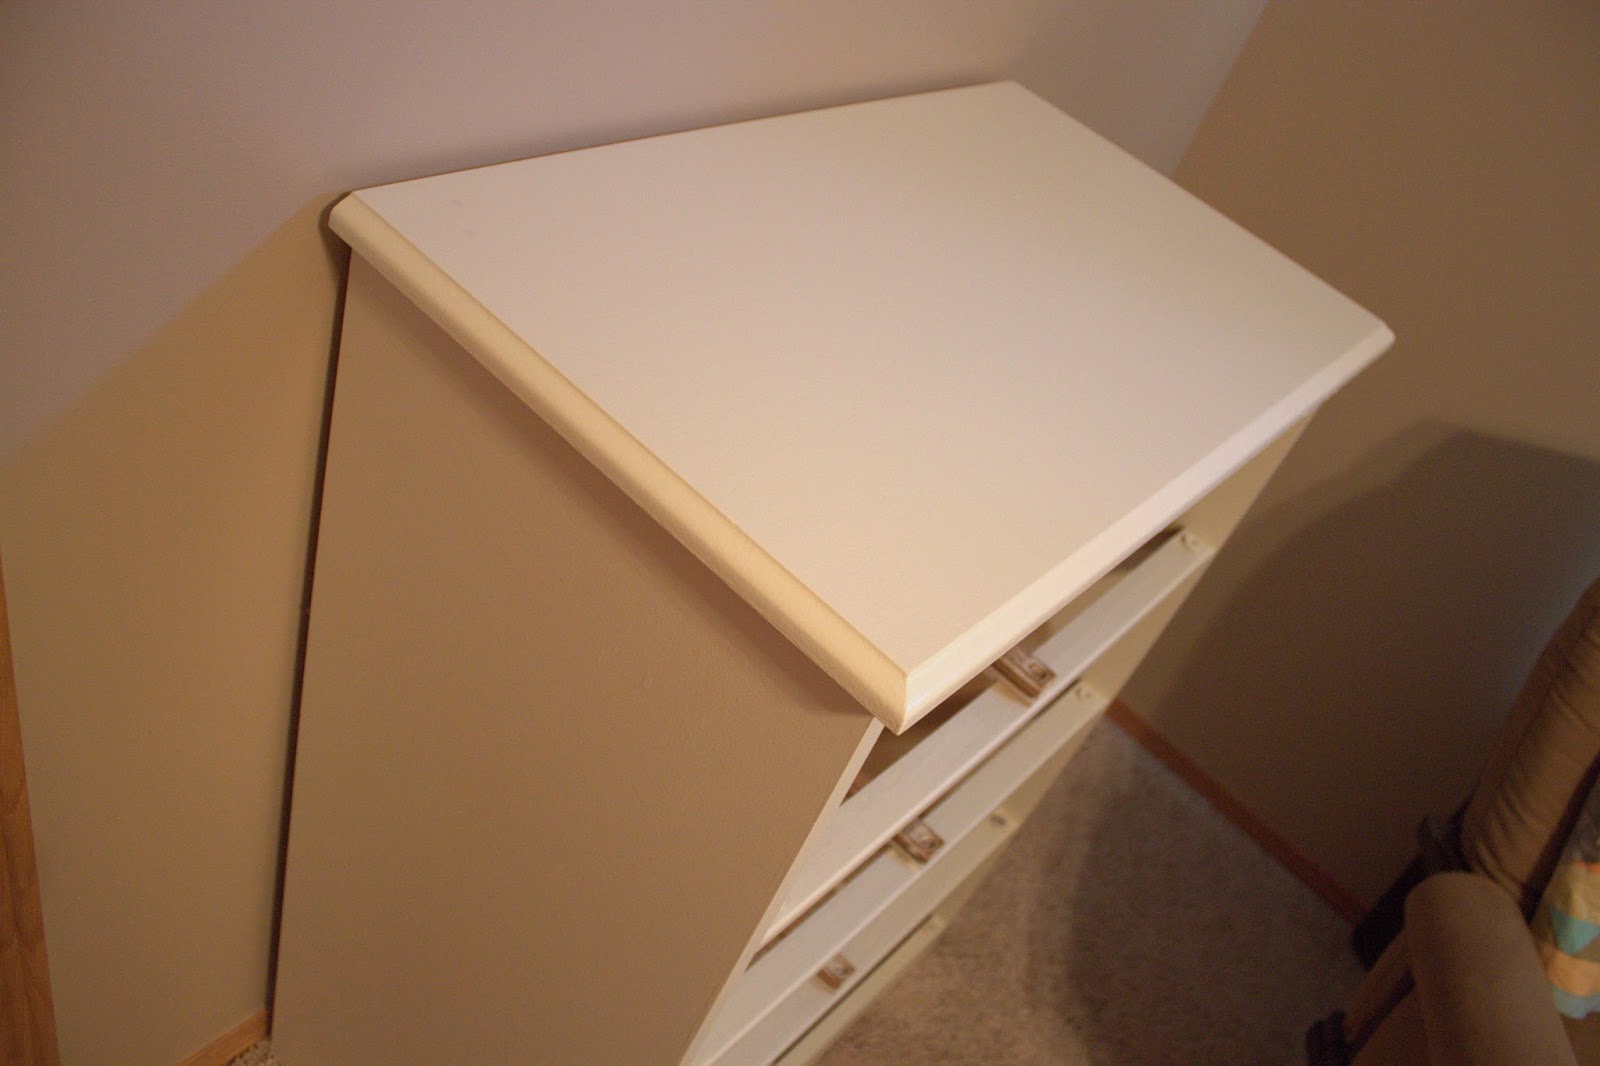
Musical Dressers - the makeover!

I wish I had a good "before" picture but sadly I had it all apart before I remembered! I know I'm not the only one with this problem so I snapped a couple before I got some help lugging it out to the garage for a fresh coat of white paint...
 Smudges and weird markings from the handles- yuck!
 Crusty and worn handles- yuck!
Can't really see them but there are pink marker marks and dings in the paint- yuck!

Notice a theme??? 


My sister helped me get them painted yesterday so that's done! Yay!! Here's the fresh coat! 

weird smudges and markings gone!

Dings and markings gone!

Oh, and musical dressers you ask? Because it went from this hairy spot in the master bedroom to my son's room and his changing table/dresser is moving into the next baby's room. :) 
And this is my only "Before" picture. eek. 


The handles were definitely the most difficult part of this makeover. Multiple coats of Satin brown spray paint... the handles moving, getting stuck, puddling, etc. UGH! But we finally got to the home stretch after I moved them inside for the last two touch-up sprayings in the extra bedroom. (They dry so much quicker when the humidity isn't 95% and the temperature isn't 95°!)


It just looks so much better! I'm sold!

6.10.2014

bookshelf - new look!

I would have never thought to do this, even though I buy my old books solely based on the cover and/or binding, I had never thought to turn them facing out- Thank you BHG for posting this picture!!!


I need to go shopping in my old guest room for more accessories. But the books are out and showing their stuff!


4.24.2014

Winner Winner Chicken Dinner!

I found this recipe on pinterest from here. My hubby is a big Caesar salad guy so I tried it out on him... and he kept taking "one more" spoonful- must be good!!

I had some chicken leftover from the night before that had simmered for about 4 hours with seasonings so it was falling apart on me as I was trying to get it out of the pot- YUM!!!
(By simmering a large amount of chicken all together it provides enough for several small dishes for a week. Might as well if you are only cooking for a few.)

So here it is:
Chicken Caesar Pasta Salad
Author: Amy Allen Clark
Prep time:  15 mins
Cook time:  12 mins
Total time:  27 mins
Serves: 6

To make this dish quicker, use a rotisserie chicken instead of roasting your own!

Ingredients
1 pound dry penne pasta
4 boneless chicken breasts, roasted & seasoned with Mrs. Dash Tomato Basil Garlic seasoning* 
½ teaspoon ground black pepper
¼ teaspoon salt
1-2 teaspoons Mrs. Dash Tomato Basil Garlic seasoning*
1 (8 ounce) bottle Caesar salad dressing
¼ cup red wine vinegar
1 head romaine lettuce – rinsed, dried and shredded
1 pint cherry tomatoes, halved (or 1-2 regular tomatoes chopped)
 ½ cup grated Parmesan cheese (optional)

Instructions
Prepare chicken as directed above. Allow the meat to rest ten minutes and then dice or shred for your pasta salad.
Prepare your lettuce and tomatoes and toss them into a large bowl with the cooled chicken.
Bring a large pot of lightly salted water to a boil. Add penne pasta and cook for 8 to 10 minutes or until al dente; drain.
In a bowl, mix together salad dressing, vinegar, and seasonings. Toss together pasta, chicken, lettuce, tomatoes, and dressing mixture.
Garnish with croutons and Parmesan cheese, if desired. 


*I had McCormick's Pinch Perfect Garlic and Herb- anything similar to these will work for this.

3.05.2014

2 months after Resolutions!

Oh, the big hopes and dreams.
I had a lot of tasks to get done.
Gallery wall. Done.
That's it.
Yep, that's all that got accomplished.
We came home from holidays away and caught some nasty colds. I fought off the flu and had some rough sleep-lacking nights as my son was struggling to breathe with sore throat and major congestion. So not the way the wanted to spend the first 2 months of this new year.

I have had some new ideas for my resolutions, since I had plenty of time to sit around and think about it while I was cuddling my baby.
I was about to move the bookshelf out of bedroom #2 when I realized a coat of light gray paint (found on clearance for $2.50) on the backing of the bookshelf would breathe new life on it and would work really well for bedroom #2. It not going downstairs to the guest room also leaves more space down there for something like a playpen/crib. It got cozy in there awhile back when we had guests with kids!

The office - has had a couple of leaps of toward greatness spread out by weeks of standstill because I walk in and just want to go take a nap. I put some additional shelves up (they were sitting around anyway) hoping these would be for some random trinkets the hubby can show off. We will see... Who's going to go in there- really? 

I was told by the hubby to hold off on the master bedroom until summer. We'll all move downstairs for the summer (it's like 10 degrees cooler down there) again which gives me time to do what I want and not be rushed. Yay!

All painting is waiting for summer too, or at least continual warmer weather... and helpers. I'm gonna need some helpers to help me get it done! Someone has to entertain the little man!
Of course the garage is always way out there in the distant future. My hubby keeps telling me that it's supposed to be nice the next couple of days and I could really get a lot done out there... And sadly i'm thinking about working on it later this week when it gets up to 55 degrees. What am I thinking??

I am only 1 week away from my next big project. More on that to come!

1.17.2014

German Meatballs

Today was the second time making this. Both times I made them slightly different so maybe someday I'll get it perfect. The first time I didn't have pork so it was made with just beef -1.5 pounds - just to be fair. The second time I substituted the pork for German sausage from the butcher. Yum. (I also may or may not have the lemon juice and peel on hand when I cook these things.) And for the life of me I can't remember if I added the eggs to the meatballs this time. Oh my goodness, I need help. It still tasted really good!

1 1 inch slice bread
1/2 cup milk

1/4 cup finely chopped onion
1 tablespoon butter or margarine


2 beaten eggs
1 pound lean ground beef
1/2 pound ground pork or German sausage
3 tablespoons snipped parsley

1 1/2 teaspoons salt

1 teaspoon Worcestershire sauce

1/2 teaspoon finely shredded lemon peel

1 teaspoon lemon juice

1/4 teaspoon paprika
 - I use 1/2 tsp to add more flavor
1/4 teaspoon ground nutmeg


 - again 1/2 tsp
3 cups beef broth


1 cup cold water

1/2 cup all-purpose flour

Hot cooked noodles, rice or spaetzle

In a large mixing bowl, soak bread in enough milk to cover it.
Meanwhile, in a small saucepan, cook onion in butter until onion is tender, but not brown. Press milk from bread, discarding milk.
In large bowl, combine bread, eggs, beef, pork, parsley, salt, Worcestershire sauce, peel, juice, paprika, nutmeg, and onion mixture. Mix lightly with your hands. Form into meatballs.
In large skillet, bring broth to boiling. Add meatballs. Return to boiling; reduce heat. Simmer, covered, for 15 minutes or until meatballs are done (160 degree F).
With a slotted spoon, transfer meatballs to a serving bowl and keep warm.
Skim fat from cooking liquid. Reserve 2-1/2 cups cooking liquid, adding water, if necessary.
Mix cold water and flour. Stir into reserved cooking liquid. Cook and stir until bubbly. Cook 1 minute. Pour over meatballs. Serve with hot noodles, rice or spaetzle. Top with additional snipped parsley. Makes 6 to 8 servings.

Next time I will be adding mushrooms to the sauce and per my hubby's suggestion a scoop of sour cream. The ultimate German thing.