9.17.2014

Gluten Free Banana Bread

This recipe is stolen borrowed from Minimalist Baker. I have been trying to cut back on Gluten in my diet as more and more family members seem to be getting the lovely diagnosis of Celiac. And I have a lot to learn... After not needing to cook/bake Gluten Free for the past 8 years or so, I have a lot of catching up to do. I know enough basics to cook around it when I need to but alas I still forget things like adding xanthan gum in with the flour. I even looked at the side of the flour mix to see what I needed to add and then completely forgot. Blaming this on the pregnancy brain, because I can. 


One Bowl Gluten Free Banana Bread (VEGAN OPTIONAL)


Ingredients:
3 medium ripe bananas (~1.5 cups)
1/2 tsp pure vanilla extract
1 egg (or sub 1 chia or flax egg)
3 Tbsp grape seed or coconut oil, melted (I used coconut oil)
1/4 cup organic cane sugar
1/4 cup packed brown sugar
2-3 Tbsp honey, depending on ripeness of bananas
3.5 tsp baking powder
3/4 tsp sea salt
1/2 tsp ground cinnamon
3/4 cup almond or dairy milk
1 1/4 cup almond meal** 
1 1/4 cup gluten free flour blend 
1 1/4 cup gluten free oats
(and I added mini chocolate chips, because every pregnant lady needs chocolate)


Instructions:

  1. Preheat oven to 350 and line a loaf pan with parchment paper or spray with nonstick spray.
  2. Mash banana in a large bowl. Add all ingredients through almond milk and whisk vigorously to combine. Last add almond meal, gluten free flour blend and oats and stir.
  3. Bake for 1 hour – 1 hour 15 minutes. When ready, it should feel firm and be crackly and golden brown on top.
  4. Let cool completely before cutting or it will be too tender to hold form.
  5. Serve with butter and honey or as is. Store leftovers in a covered container for up to a few days. Slice and freeze for longer term storage.
**I didn't have this so I just used all-purpose gluten free flour for all of it- so a total of 2.5 cups, and I should have remembered to add Xanthan gum. Oops. 

9.15.2014

Little Man #2's nursery

Until a month ago this room was a guest room, with a king size bed taking up nearly half the floor space.
6 weeks out from my due date, I was slightly panicky. I wanted it done and quick, just so that it would be done and I wouldn't have to worry.
It took over 2 weeks to sell the mattress and get it out of there but there was a sigh of relief when it did.
Now I'm a week from my due date and it is done... I mean there's always more to add, but in a general sense... It's done.  Plus according to my little man #1, it has the very important "bubbles" -aka the paper mobile over the bed and the "balloons" -aka the paper lanterns over the changing table/dresser. 


9.12.2014

Master Mess Makeover- the Afters!


Here are the afters... where the white dresser used to be. Now vintage themed!

 This is where that white dresser and my desk used to be...


Behind the door... i moved the bookshelf here after moving both of the dressers to the same wall together. One general place for all the clothes, clean and dirty to chill! Trust me, I still come around the door trying to get to the dresser that was here.


This is the wall that was home to the keyboard.

The keyboard found a new home, downstairs... where there's actually room for it.
Oh, and the bed, you were waiting for this... the headboard was a long process... because... the coral fabric is -get this- removable! My poor hubby suffers from allergies, and he was coming up with all sorts of ways to stretch it across and yet make it removable... it was so complicating!! So I sewed it to fit (front and back) and we added snaps to the backs of the buttons and wa-la! Removable!

9.11.2014

Master Mess Makeover- BEFORES!

No, this isn't embarrassing. Really. Ok, maybe it is. Our master bedroom is the drop zone, laundry hiding place, mail drop, and must-hide-everything-guest-are-coming spot.
It does drive me nuts. Mostly I have not come up with practical ways of handling the mess and this room has been a free-for-all since we moved in. I was able to get my son's nursery pretty much set up in the month before he came, but all other accomplished projects have been done very slowly in the 2 years since and the master bedroom has not ever been tackled. 
But with another baby on the way and lots of future hours in this room with it becoming the command center again, I really need to get things happening! 


We did move downstairs to cooler temperatures for the summer so this room was free to get cleaned as I pleased. It took awhile but with guests coming and going I was encouraged to get 'er done!

So stare and comment away because the after pictures are coming!!!


8.19.2014

Quote Art

FYI, these are pictures mixed and matched showing different steps of different projects. I'm not very good at doing step by step pictures of one whole project.... 

1. Canvas - Pick out your size of canvas. I have gotten 12x12s and 16x20 two packs at hobby lobby- the cheapest brand because I wasn't using regular paints or making a painting.
(I also picked up paint markers/pens for doing the letters while I was here)

2. Paint - I picked up a sample 2 oz at Lowes of the color of my choice. (BM-Palladian Blue) This was more then enough to cover 4 canvases. Or just use some leftover paints depending on who you are doing it for or which room it is going in.

3. Verse, Quote, etc. - originally for our room I was going to do a hymn but I couldn't decide- It was a toss-up of either the first verse of Be Thou My Vision or Lamentations 3- seemed appropriate for over the bed as a reminder as you go to bed or get up in the morning. For other projects, just cute little quotes I spotted while wandering on pinterest. 

4. Fonts - This may not be difficult for the average person but it was for me. I love cursive but I wanted something legible for anybody reading it. I printed off only one paper (two words) at a time until I got the size right. Microsoft Word was mad at me. :)

5. Wiggle room - I laid out the papers when I got to the right size and on my 16x20s I realized that the way I had them lined up was leaving some empty spots. So then it was back to Pinterest to find a way to fill them in. 

     Lace (clearance at the fabric store!) and Paint. I used double stick tape to hold the lace onto the back of the canvas. I was just going to sponge a lighter layer of blue onto the lace but the lace and sponge kept sticking to each other and the lace didn't stay in place. Spray paint to the rescue! I had white gloss laying around so I sprayed a light dusting of that onto the lace and then immediately pulled the lace off the canvas so it wouldn't stick.


6. Prep - Now your canvas is dry and you have your verse, quote, hymn picked out in your font of choice. 
I used rubber bands to line up where my words would go. For example my 12x12 was split for 3 lines, so my 1st line 3 inches down and then my 2nd line was 4 inches down from that line and then the 3 line was down 4 inches from that- leaving an inch of space at the bottom for the "tails" on the the y and g. Measure and adjust accordingly for what you need. 

7. Tools of the trade - Carbon paper (pick up at any office store), regular pen and your printed off quote. I used the rubber band to help keep my layers of paper and carbon paper lined up in the right spot. Trace the letters and it "magically" transfers onto the canvas. 


8. Magic - Remove the papers and rubber bands. Look! It's magic!!! I mean carbon paper. Use your paint marker/pen to fill in the traced words. 


9. Waiting- Let it dry. Usually I set it out of reach of little ones and let it dry for several hours or overnight.


10. Hang it up and show it off!


6.24.2014

No-bake cheesecake

I was craving cheesecake as any normal pregnant person should. And I had all the ingredients. in my house. at the same time. So I just needed an excuse and my excuse was our anniversary. 
His

2 packages of cream cheese (8oz each) - room temperature
1-2 tsp of vanilla extract
3/4 cup of sugar
1 (8 oz) cartoon of Cool Whip, Whipped Topping, etc.
Graham cracker crust 

Hers
With a kitchen aid mixer or hand mixer, whip together the first three ingredients. Scrape frequently to get it mixed well. 

Add about a third of the Cool Whip to the cream cheese mixture. Gently whip it until well mixed. 

Scoop half of that mixture into the graham cracker crust. Gently spread it evenly across the bottom of the crust. 

Add another third of the Cool Whip to the other half of the cream cheese/cool whip mixture. Gently whip this also, and then spread gently and evenly on the first layer. 

Top with remaining Cool Whip, spreading evenly across the 2 layer. I used the back of a spoon to make little swirls in the topping.  
Refrigerate. 

Our toppings- added right before serving- were strawberries for me and chocolate peanut butter sauce for him. 

Chocolate peanut butter sauce was just chocolate chips, peanut butter, butter and sugar melted together and mixed together. 

~You don't have to do this many steps or layer it this way, but I wanted to try it and well, my son was napping too~
Eat it up and Enjoy!!!

6.19.2014

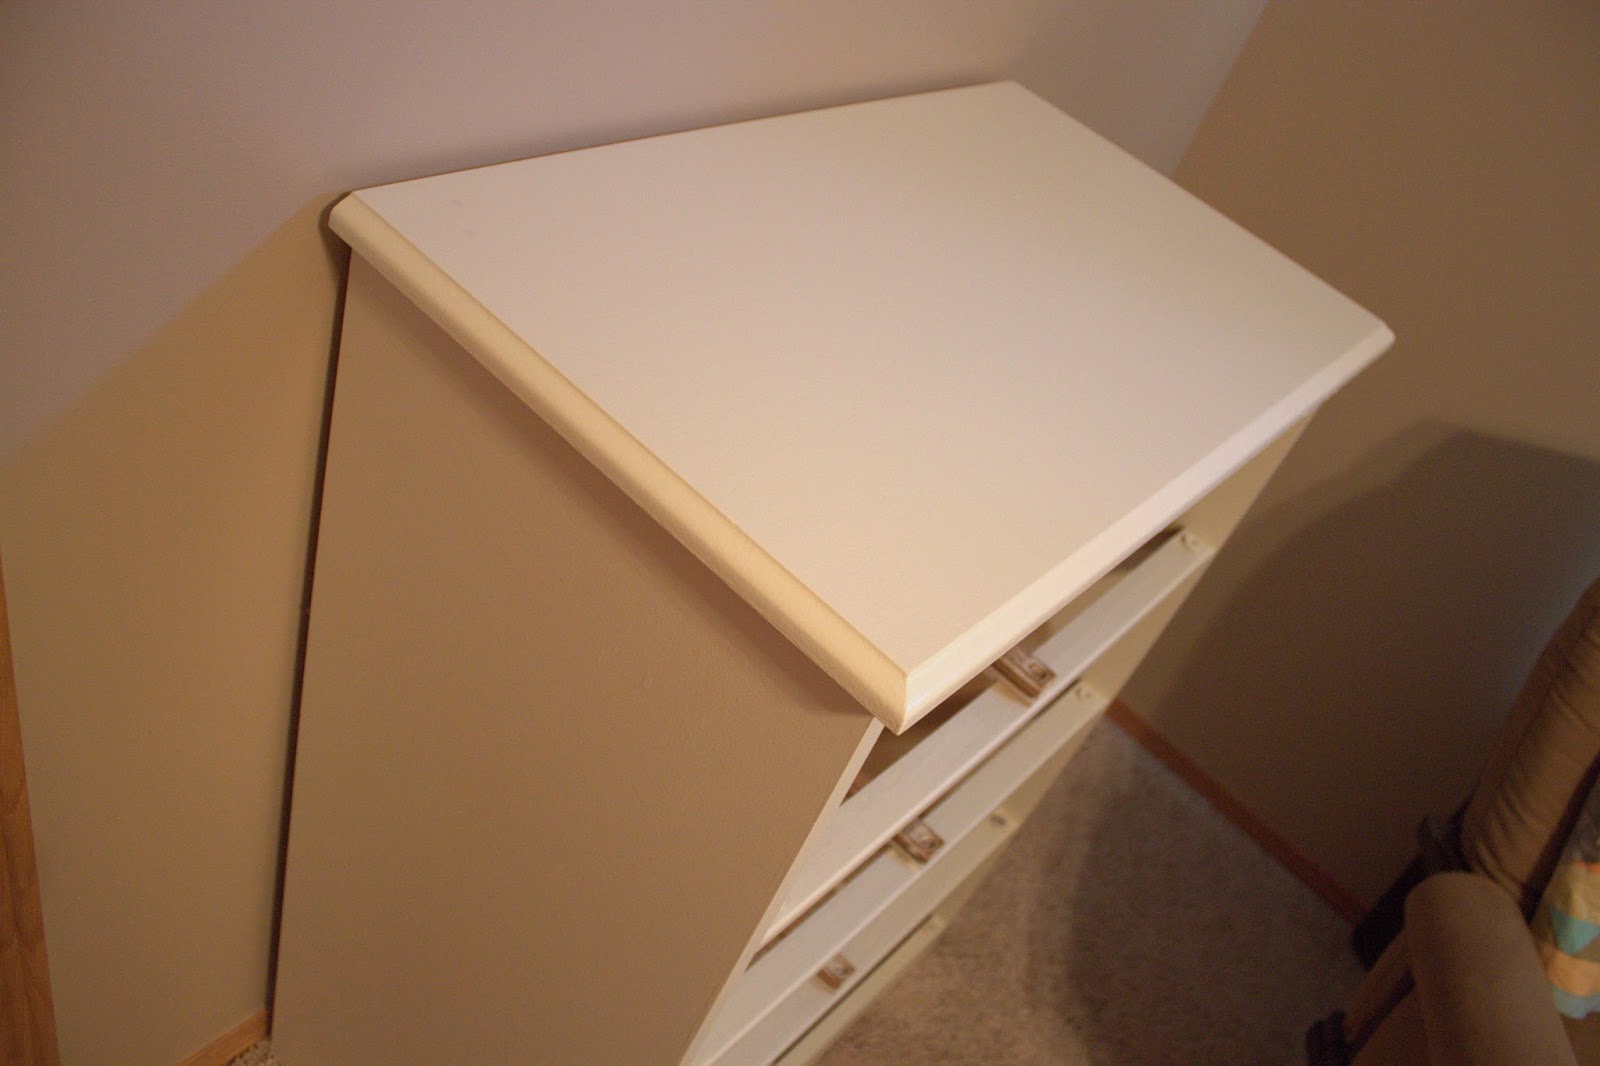
Musical Dressers - the makeover!

I wish I had a good "before" picture but sadly I had it all apart before I remembered! I know I'm not the only one with this problem so I snapped a couple before I got some help lugging it out to the garage for a fresh coat of white paint...
 Smudges and weird markings from the handles- yuck!
 Crusty and worn handles- yuck!
Can't really see them but there are pink marker marks and dings in the paint- yuck!

Notice a theme??? 


My sister helped me get them painted yesterday so that's done! Yay!! Here's the fresh coat! 

weird smudges and markings gone!

Dings and markings gone!

Oh, and musical dressers you ask? Because it went from this hairy spot in the master bedroom to my son's room and his changing table/dresser is moving into the next baby's room. :) 
And this is my only "Before" picture. eek. 


The handles were definitely the most difficult part of this makeover. Multiple coats of Satin brown spray paint... the handles moving, getting stuck, puddling, etc. UGH! But we finally got to the home stretch after I moved them inside for the last two touch-up sprayings in the extra bedroom. (They dry so much quicker when the humidity isn't 95% and the temperature isn't 95°!)


It just looks so much better! I'm sold!